
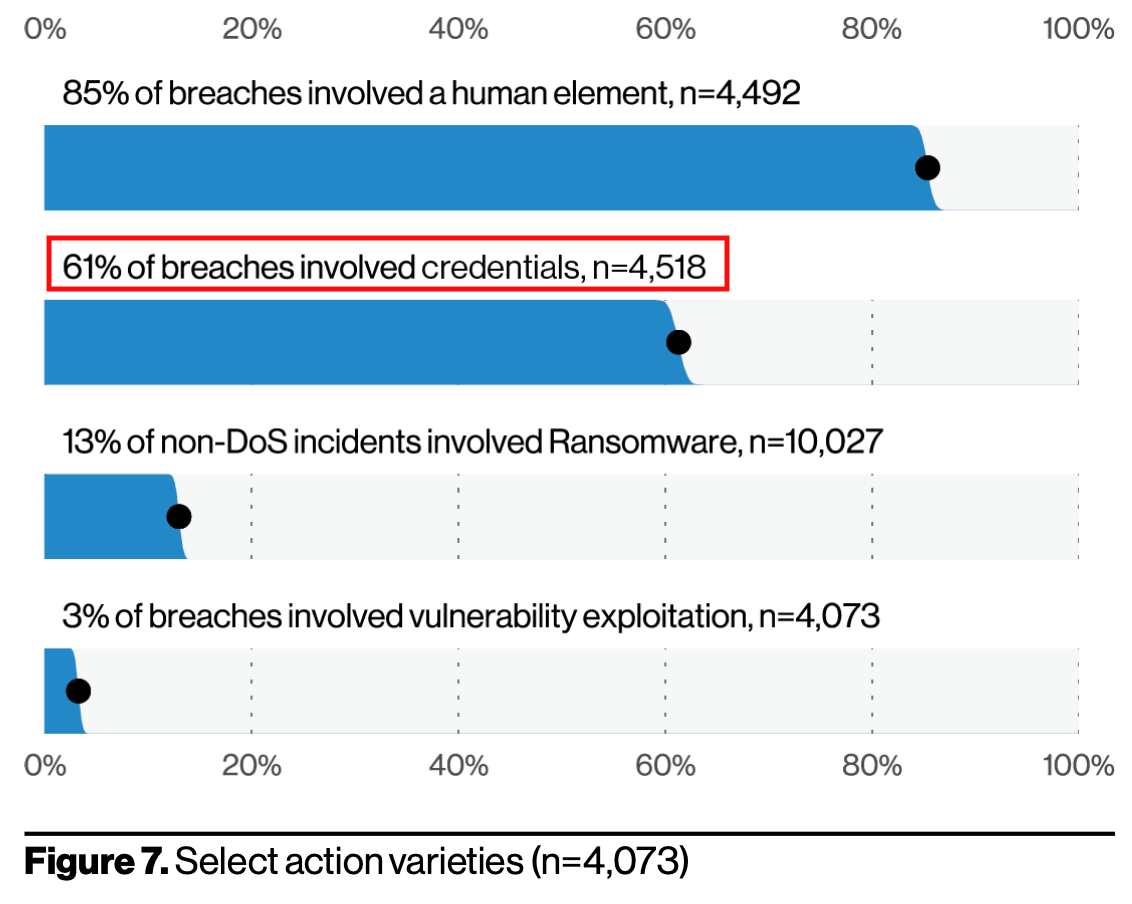
We see stolen credentials time and time again for MS 365. The 2021 Verizon Data Breach Investigations Report shows that 61% of breaches involved credentials. It is not if, but when… Without training and without multi-factor authentication, this WILL happen. If you need assistance with this process, we are here to help: Contact Us
Imagine an attacker having full access to your mailbox. What sensitive information lives there? What relationships can they begin to understand (and exploit)?
Signs of a compromised mailbox
- Contacts emailing you about messages you don’t recognize
- Newly created folders
- Newly created rules
- Suspicious activity such as items showing up in ‘Sent’
Attackers often cover their tracks by deleting their activity, however you will often be aware when legitimate mail contacts return puzzled responses to the originally compromised mailbox.
Response
See Microsoft’s article for full details, however a summary has been provided below. Understand that the compromised mailbox cannot be used as communication method for response since the attacker will be privy to this communication.
- Reset the account password
- Enable MFA if not in place
- Remove any suspicious forwarding configuration
- Remove any suspicious rules
- Unblock sending functions if necessary
Investigation
What did the attacker do? Who did the attacker communicate with? Was information stolen? Do you have any legal obligations to report the incident? Once the mailbox has been secured, there are several ways to begin to understand the impact of the compromise.
- Review the mailbox ‘Sent Items’ with the end user. Some attackers will delete correspondence to cover their tracks, however this is not always the case. You can notify recipients and inform them of the current situation. Additionally, you might be able to determine whether or not data has been exfiltrated.
- Review account sign-in activity
- Review mailbox audit logs
Reviewing Mailbox Audit Logs – Detail
If you do not perform this activity on a regular basis, this overview can help you get started. Be certain to conduct all of this activity from a trusted, known-good administrative system. You’ll need a system with PowerShell to begin. We recommend PowerShell 7.
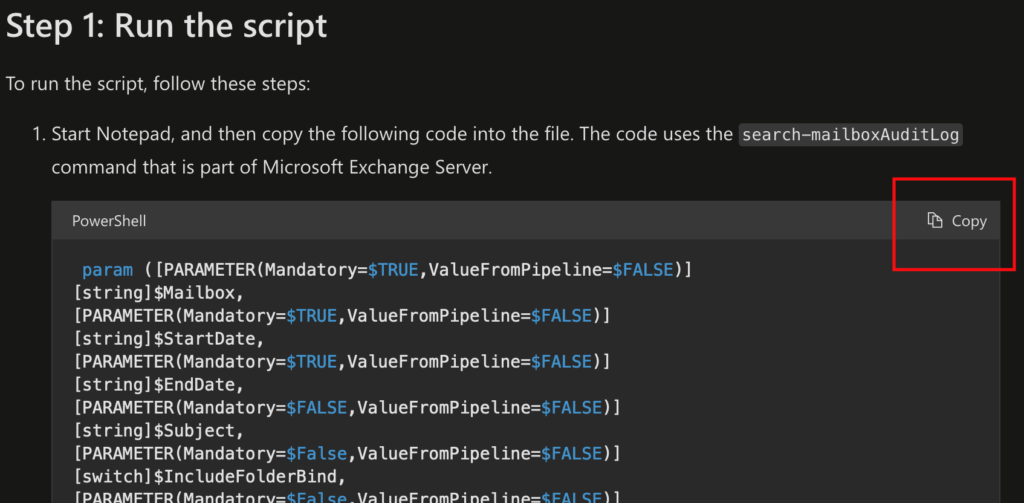
- Microsoft has published a PowerShell script to simplify the gathering of logs. Visit: https://docs.microsoft.com/en-us/office365/troubleshoot/audit-logs/mailbox-audit-logs
- You will need this script saved to a file on your system. Copy the script contents and save it to a .ps1 file somewhere to use later.
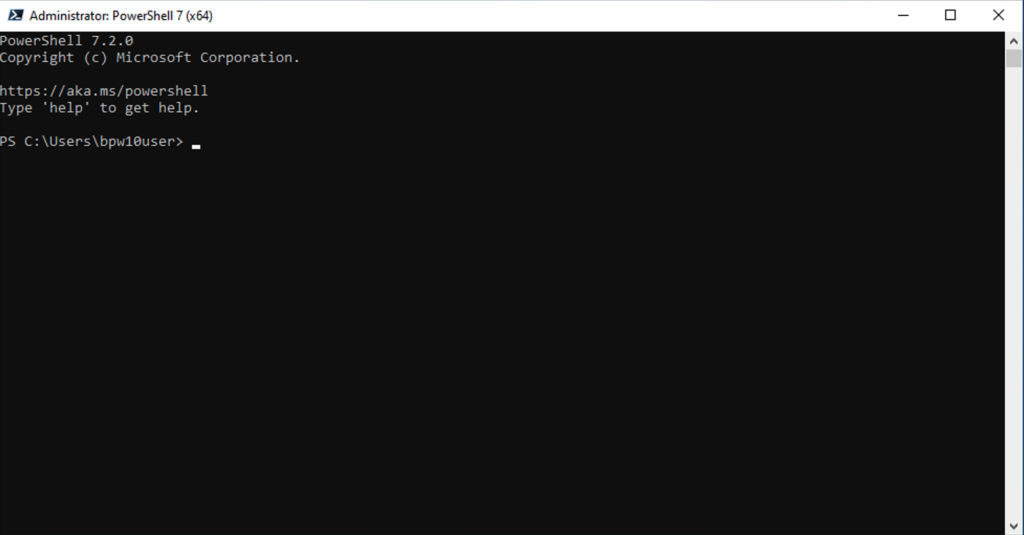
- Download and install PowerShell 7: https://docs.microsoft.com/en-us/powershell/scripting/install/installing-powershell?view=powershell-7.2
- Install the Exchange Online PowerShell Module: https://docs.microsoft.com/en-us/powershell/exchange/exchange-online-powershell-v2?view=exchange-ps
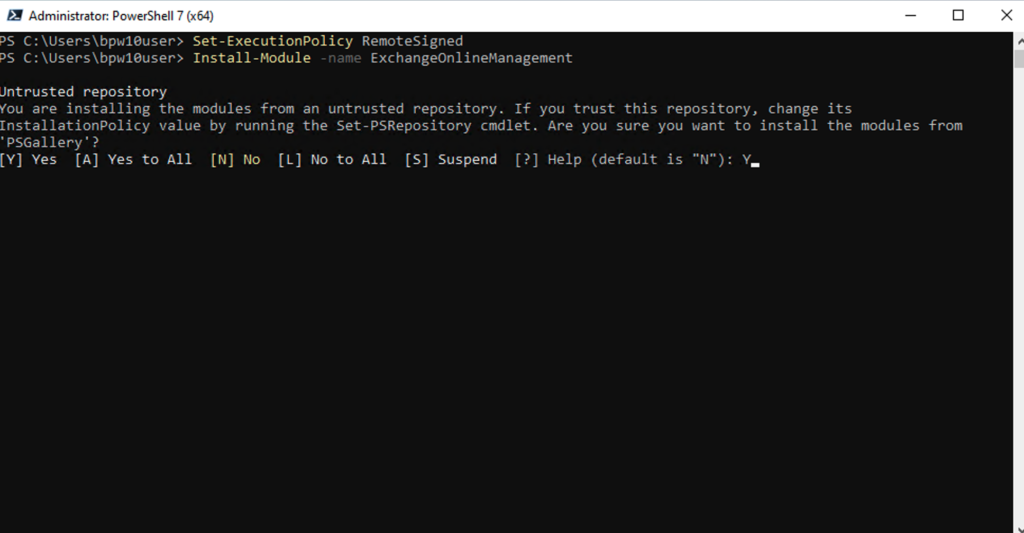
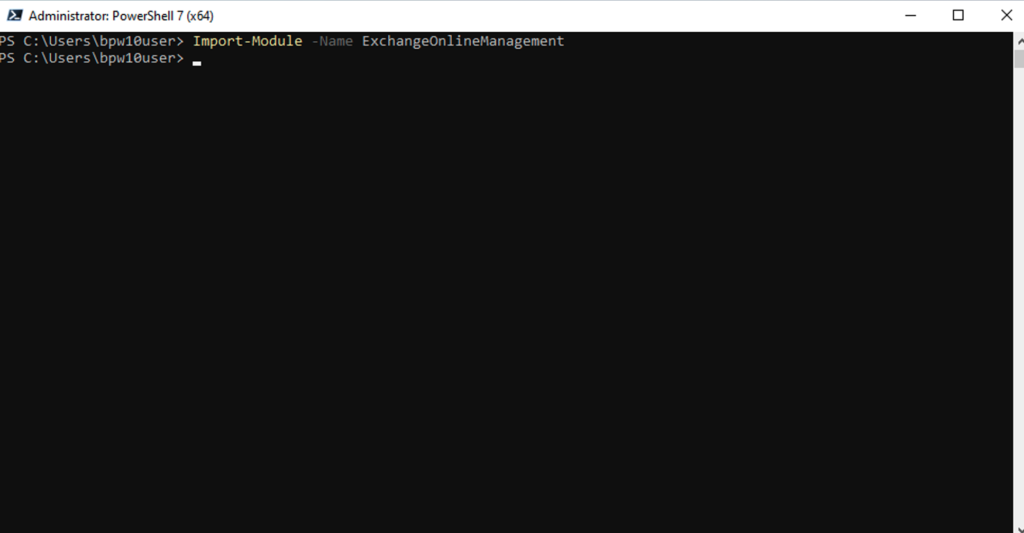
- Import the Exchange Online Management module
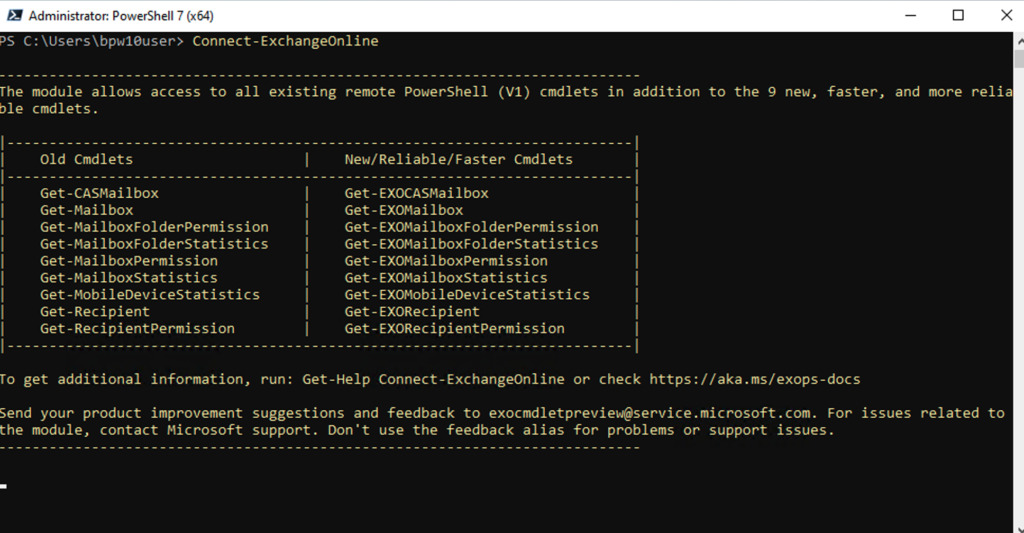
- Connect to Exchange Online: https://docs.microsoft.com/en-us/powershell/exchange/connect-to-exchange-online-powershell?view=exchange-ps
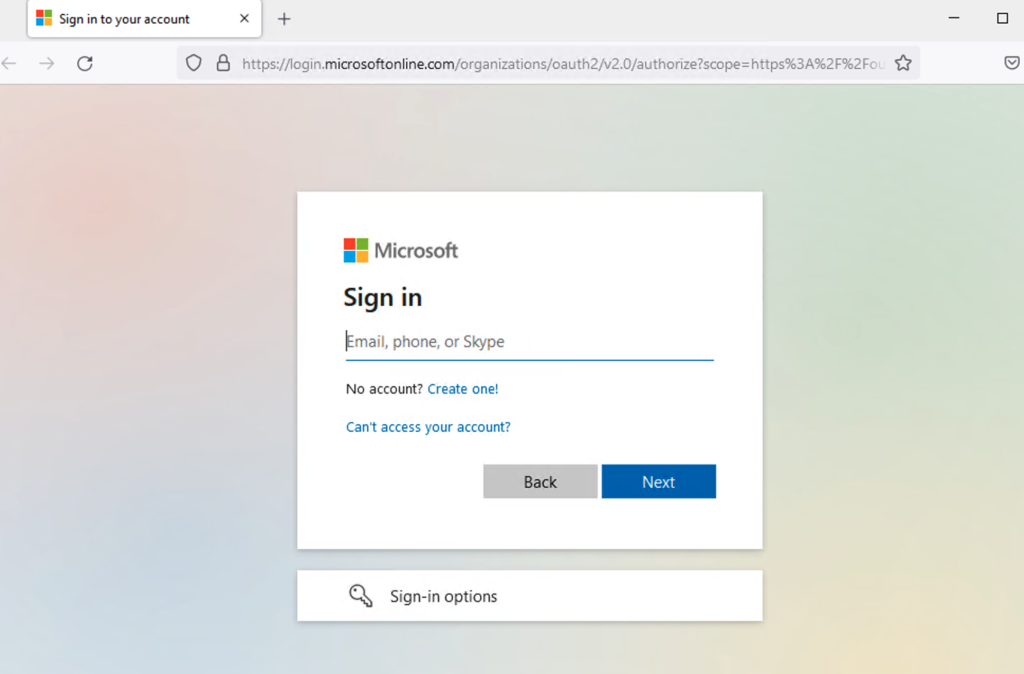
- You should be presented with a browser and MS 365 login prompt. A Global Admin typically has necessary permission, however RBAC detail can be found here: https://docs.microsoft.com/en-us/powershell/exchange/find-exchange-cmdlet-permissions?view=exchange-ps
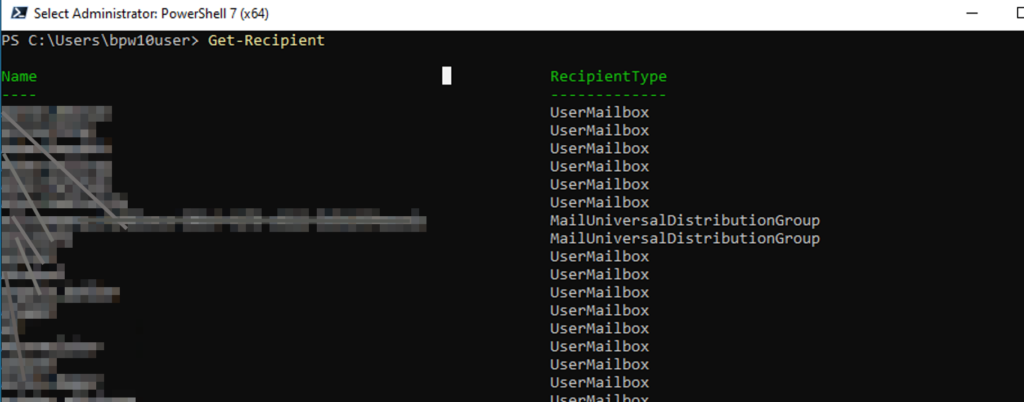
- Test your connection by viewing your receipts; you should see recipients in your organization
- Now you are ready to run the audit log search script you created earlier. Start by finding the alias of the mailbox you would like to investigate. For example, if you are investigating a user named “Bob” run the following (this will show users with the letters “bob” anywhere in their name. Use the Alias when running the script.

- Run the script

- You should now have a .csv file in the directory the script was run

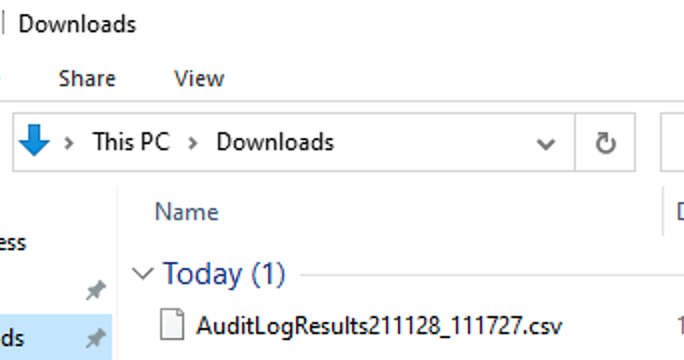
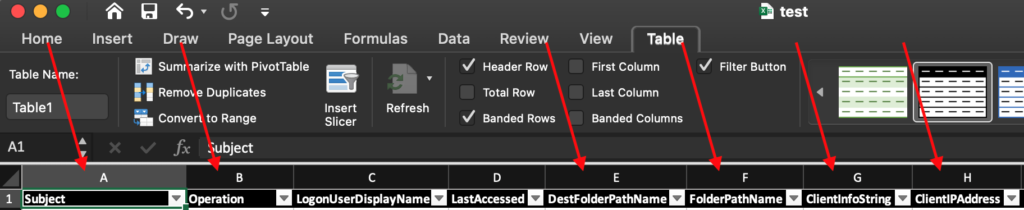
- Open with your spreadsheet tool of choice, and you can format as a table to begin filtering.
- Important information has been indicated in the screenshot below. You can use IP address lookup tools (Cisco Talos is great) to identify suspicious clients. Typically attackers will log in via OWA, so the ClientInfoString will indicate what type of client was utilized. You are looking for things you wouldn’t reasonably expect to see. Logins from different IP address that are geographically distant (Impossible Travel; being in New York and San Fransisco only minutes apart). Folder paths can provide detail on what items were impacted. Operations can indicate actions that took place.
Notes
This article provides a high-level overview of the response and investigation process. Certain factors may influence your ability to run the mailbox log search script. For example, logging must be enabled for the mailbox. This is now the default, but some legacy tenants/mailboxes might not have logging enabled. Additionally, logs are retained for 90 days.
Further, incident response includes more than securing the account and moving on. You must understand any legal or contractual requirements for incident reporting.